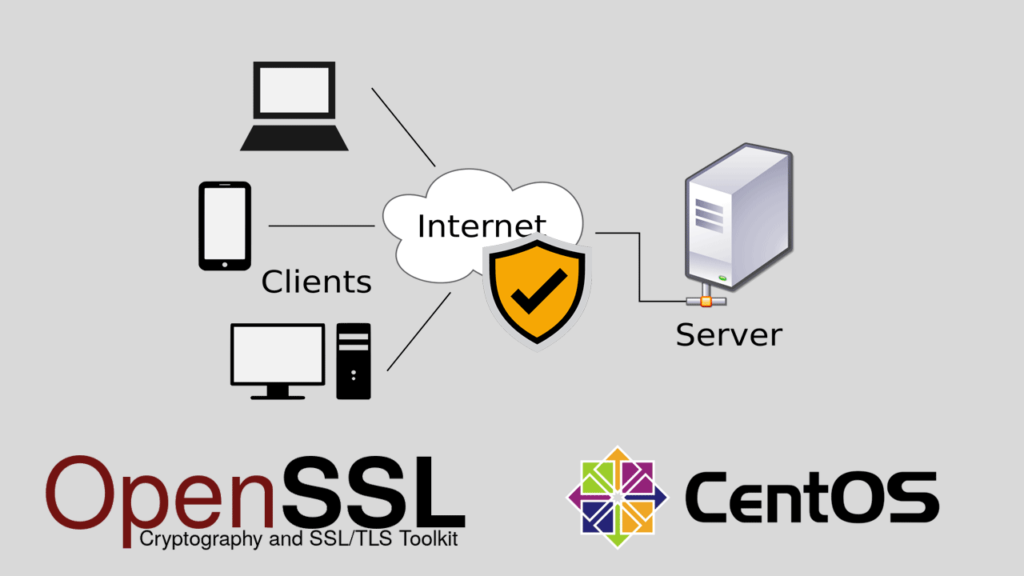
How to Generate a Self-Signed SSL Certificate in CentOS. Having a secure connection for your website is essential for building trust with your visitors and protecting sensitive information. One way to ensure website security is by using SSL (Secure Sockets Layer) certificates. While purchasing a certificate from a trusted certificate authority is a popular choice, it can also be costly. A more affordable option is to generate a self-signed SSL certificate.
In this article, we’ll show you how to generate a self-signed SSL certificate in CentOS, a popular Linux distribution.
Prerequisites
Before you start, make sure you have the following prerequisites:
- A server running CentOS 7 or higher
- Root or superuser access to the server
- Step 1: Install OpenSSL
OpenSSL is a popular open-source library used for SSL encryption and certificate management. If it’s not already installed on your server, you can install it using the following command:
yum install openssl - Step 2: Create a Certificate Authority
A certificate authority (CA) is a trusted entity that issues digital certificates. To create a self-signed certificate, we first need to create our own CA.
To create a CA, create a new directory to store the certificate and private key:mkdir ~/myCA
cd ~/myCA
Next, create a private key for the CA:openssl genpkey -algorithm RSA -out private/myCA.key - Step 3: Create a CA Certificate
With the private key generated, we can now create a CA certificate:
openssl req -key private/myCA.key -new -x509 -out myCA.crt
When prompted, fill out the required information to generate the certificate. The most important fields are the “Common Name” field, which should be the domain name or IP address of your server, and the “Organization” field, which should contain the name of your organization. - Step 4: Create a Server Certificate
With the CA created, we can now create a server certificate for our website.
First, create a directory for the server certificate and private key:mkdir ~/myServer
cd ~/myServer
Next, create a private key for the server:openssl genpkey -algorithm RSA -out private/myServer.key
With the private key generated, we can now create a certificate signing request (CSR):openssl req -key private/myServer.key -new -out myServer.csr
When prompted, fill out the required information. The “Common Name” field should be the domain name or IP address of your server. - Step 5: Sign the Server Certificate
With the CSR generated, we can now sign the server certificate using our CA:
openssl x509 -req -in myServer.csr -CA ~/myCA/myCA.crt -CAkey ~/myCA/private/myCA.key -CAcreateserial -out myServer.crt - Step 6: Configure the Web Server
With the SSL certificate and private key generated, the final step is to configure your web server to use the certificate. The exact steps will vary depending on the web server you are using, but in general, you’ll need to specify the path to the SSL certificate and private key in the server configuration file.
For example, if you’re using Apache, you can add the following lines to yourhttpd.conffile or a virtual host configuration file:
SSLEngine on
SSLCertificateFile /root/myServer/myServer.crt
SSLCertificateKeyFile /root/myServer/private/myServer.key
Don’t forget to restart the web server after making these changes.
Conclusion
Generating a self-signed SSL certificate in CentOS is a cost-effective way to secure your website. By following the steps outlined in this article, you can easily create a self-signed certificate and configure your web server to use it. Just remember that self-signed certificates are not trusted by default and may result in browser warnings for your visitors. If you’re looking for a trusted certificate, consider purchasing one from a trusted certificate authority.