How to renew lets encrypt ssl certificate google cloud bitnami. Lets encrypt SSL certificates are generally expired after 90 days of creation so need to be renewed regularly. If the expire date is near then you should renew manually first before adding an auto-renew cronjob (automate).
So here are the commands required to renew the current certificate in use, you should replace DOMAIN and EMAIL-ADDRESS with the relevant domain and email address of the previous certificate.
In this quick-start tutorial you will learn how to configure free, auto-renewing SSL certificates for WordPress websites that are hosted on Google Cloud Platform compute engine using the Bitnami version of WordPress on Google Cloud Platform.
Before getting started with this tutorial, you should have already:
- Installed WordPress on Google Cloud
- Set up a Domain Name for your WordPress website
- Reserved a Static IP Address for your VM instance.
Once inside your Compute Engine, click on the SSH button to connect to your WordPress installation.
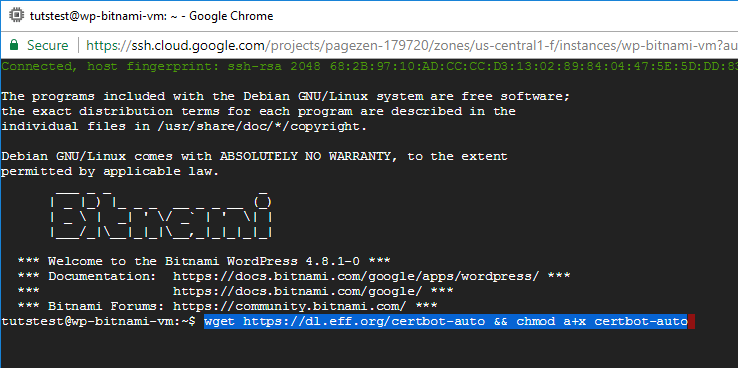
Now that you’ve connected to your website’s Apache server, you are going to execute the command to install the Certbot client. The Certbot client is used to issue the SSL certificates that will be used later on in this tutorial.
wget https://dl.eff.org/certbot-auto && chmod a+x certbot-autoAfter executing each of these commands, you can either stay in the same SSH window or exit and open a new one.
3. Generate Certificates
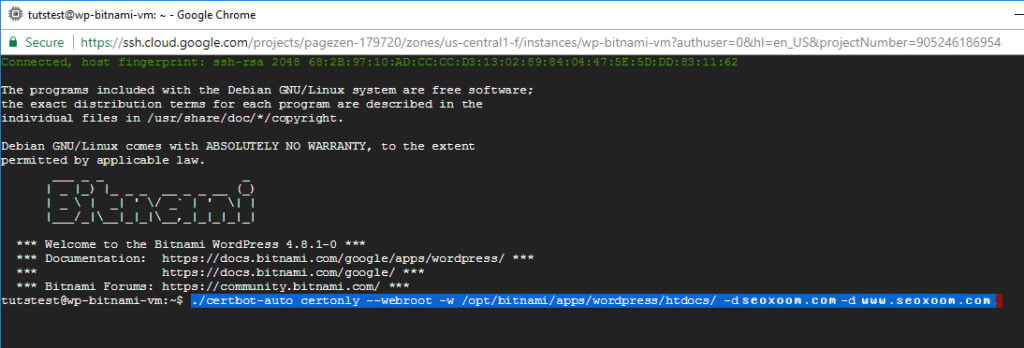
In this step you are going to execute the command below in order to tell the Certbot client to create SSL certificates for your website. Remember to replace seoxoom.com with your own domain name.
./certbot-auto certonly --webroot -w /opt/bitnami/apps/wordpress/htdocs/ -d seoxoom.com -d www.seoxoom.comAfter entering these commands, your certificates will be generated. Take note of the directory where your certificates are installed.
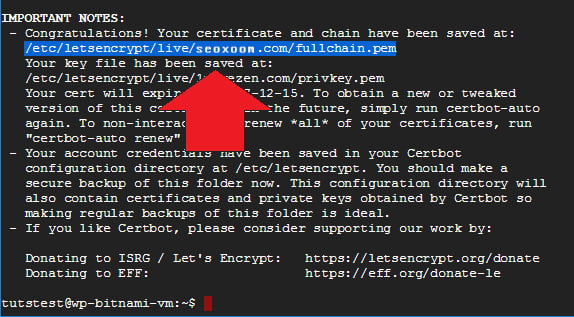
After entering these commands, your certificates will be generated. Take note of the directory where your certificates are installed.
Note: Instructions for testing the certificate auto-renew script were moved here.
4. Test Certificate Renewal
Before setting up auto-renewal for your certificates, you are first going to execute the commands below in order to test the auto-renewal function.
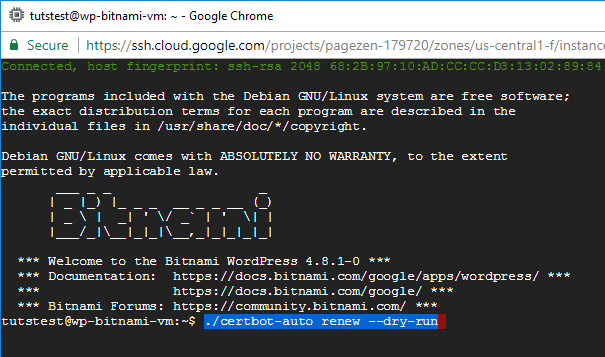
./certbot-auto renew --dry-runIf you get a success message, it means that the certificates are renewing properly.

5. Setup Auto-Renewal
Important Notice: The auto-renew configuration instructions outlined in this section are no longer valid. For updated instructions on configuring auto-renewal. Before configuring auto-renewal, you should skip to step 6 and finish the tutorial first.
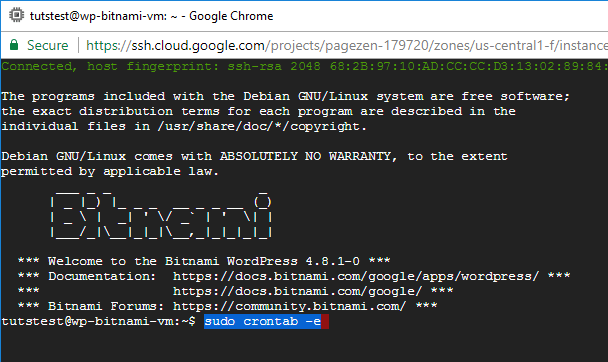
In order to program your certificates to automatically renew themselves, you need to configure a crontab that will automatically renew the SSL certificates before they expire.
sudo crontab -e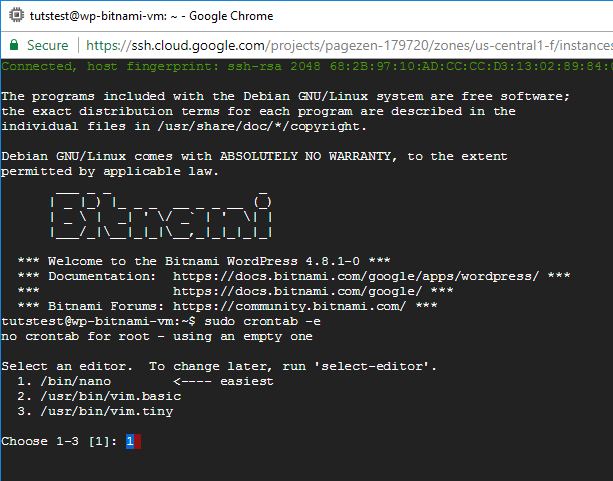
After entering the crontab -e command, choose the text editor to use to create the crontab. Nano (1) is the easiest text editor to use.
1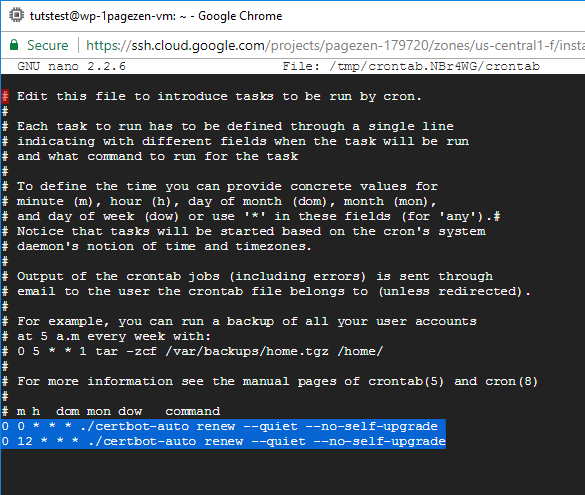
Now that you’ve created a new crontab file, scroll to the bottom and paste the commands listed below. The command will tell Certbot to check for renewals twice per day.
0 0 * * * ./certbot-auto renew --quiet --no-self-upgrade
0 12 * * * ./certbot-auto renew --quiet --no-self-upgrade
After adding this code, enter ctrl+o to save changes, followed by ctrl+x to exit back to your home screen.
6. Configure the Certificates
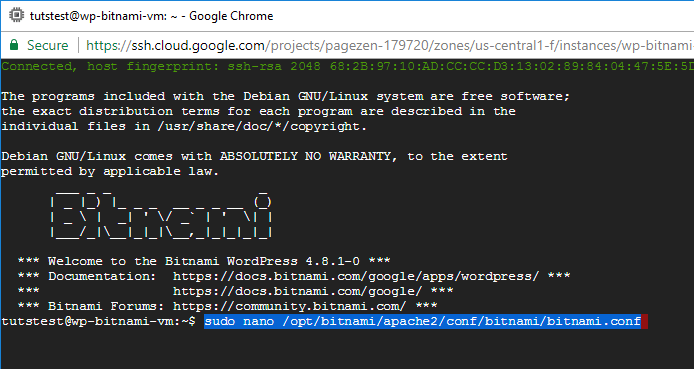
The next step is to configure your certificates. First, execute the command below to open your bitnami.conf file for editing.
sudo nano /opt/bitnami/apache2/conf/bitnami/bitnami.conf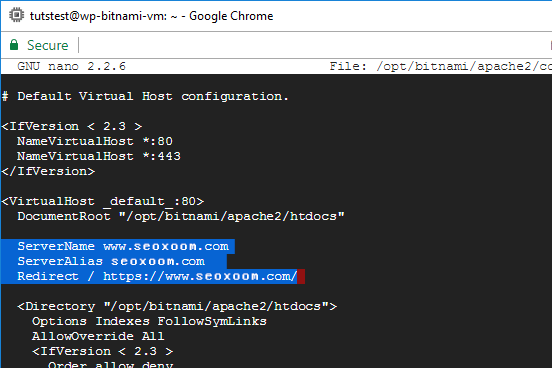
Next, paste the following 3-lines of code below the DocumentRoot line of the bitnami.conf file. This will tell the server to always serve your website’s pages with HTTPS encryption. Remember to replace 1pagezen.com with your own domain name. (Update 03/08/2018: ‘permanent’ added to code to mark redirect as a 301 instead of 302).
ServerName www.seoxoom.com
ServerAlias seoxoom.com
Redirect permanent / https://www.seoxoom.com/
Next, use the down-arrow key to scroll down the page. Place a # sign next to each of the two placeholder certificates, and paste the path to your three SSL certificate files as shown in the command below, making sure to replace 1pagezen.com with your own domain name.
SSLCertificateFile "/etc/letsencrypt/live/seoxoom.com/cert.pem"
SSLCertificateKeyFile "/etc/letsencrypt/live/seoxoom.com/privkey.pem"
SSLCertificateChainFile "/etc/letsencrypt/live/seoxoom.com/chain.pem"
After adding this code, enter ctrl+o to save changes, followed by ctrl+x to exit back to your home screen.
7. Update Domain URLs
Changing your website URLs via Settings > General is disabled in the Bitnami version, so you’ll need to change your URLs by editing your wp-config.php folder.
In order to open your wp-config.php file for editing,
run the command below.
sudo nano /opt/bitnami/apps/wordpress/htdocs/wp-config.phpInside of your wp-config.php file, you will need to replace your SiteURL and HomeURL definitions as shown below.
REPLACE THIS:

define('WP_SITEURL', 'http://' . $_SERVER['HTTP_HOST'] . '/');
define('WP_HOME', 'http://' . $_SERVER['HTTP_HOST'] . '/');


WITH THIS:

define('WP_HOME','https://www.seoxoom.com');
define('WP_SITEURL','https://www.seoxoom.com');
Remember to replace 1pagezen with either the www. or non-www. version of your domain name – whichever your prefer. For example:
define('WP_HOME', 'https://seoxoom.com');
define('WP_SITEURL', 'https://seoxoom.com');
After adding this code, enter CTRL+o to save changes, followed by CTRL+x to exit back to your home screen.
8. Restart your Apache Server
In order for your certificate changes to take effect, you need to restart you Apache server by entering the command below.
sudo /opt/bitnami/ctlscript.sh restart apacheConclusion
Now that you’ve completed the tutorial, you should configure your certificates to auto-renew using this tutorial. Also, if your configuration isn’t working properly, check out the tutorial below to learn about common SSL errors and how to fix them.
