
In this post, we will cover how to Install FreePBX 16 on CentOS 7 / RHEL 7. FreePBX is an open source GUI tool for administering Asterisk PBX systems. FreePBX is written in PHP and available for both Red Hat and Debian Linux family.
This setup assumes you already have a working Asterisk Server. We have a guide for installing Asterisk LTS on CentOS 7 / RHEL 7 below:
Time needed: 10 minutes
FreePBX is an open source GUI tool for administering Asterisk PBX systems. FreePBX is written in PHP and available for both Red Hat and Debian Linux family.
- Step 1: Setup Pre-requisites
Disable SELinux
setenforce 0 sudo sed -i ‘s/\(^SELINUX=\).*/\SELINUX=disabled/’ /etc/selinux/config
Update CentOS system and Install Development Tools.
sudo yum -y update
sudo yum -y groupinstall “Development Tools”
Install other required dependencies:
sudo yum -y install lynx tftp-server ncurses-devel sendmail sendmail-cf sox newt-devel libxml2-devel libtiff-devel audiofile-devel gtk2-devel subversion kernel-devel git crontabs cronie cronie-anacron wget vim php-xml uuid-devel sqlite-devel net-tools gnutls-devel unixODBC mysql-connector-odbc - Step 2: Install MariaDB Database server
FreePBX requires a database server. Run the commands below to install MariaDB database server.
curl -LsS https://downloads.mariadb.com/MariaDB/mariadb_repo_setup | sudo bash -s —
sudo yum install MariaDB-server MariaDB-client MariaDB-backup
Start and enable MariaDB server service:
sudo systemctl enable –now mariadb
Confirm service status
systemctl status mariadb - Step 3: Installing Node.js LTS
FreePBX has Node.js as a dependency, install it on your system by using our guide below:
sudo yum -y install http://rpms.remirepo.net/enterprise/remi-release-7.rpm
sudo yum -y install nodejs npm
Once installed, confirm version using:
$ node -v
v16.14.1 - Step 4: Install and configure Apache Web Server
Install
httpdpackage using yum package manager:
sudo yum -y install httpd
Then change Apache user toasteriskand turn onAllowOverrideoption :
sudo cp /etc/httpd/conf/httpd.conf /etc/httpd/conf/httpd.conf_orig
sudo sed -i ‘s/^\(User\|Group\).*/\1 asterisk/’ /etc/httpd/conf/httpd.conf
sudo sed -i ‘s/AllowOverride None/AllowOverride All/’ /etc/httpd/conf/httpd.conf
Remove defaultindex.htmlpage
sudo rm -f /var/www/html/index.html
sudo rm /etc/httpd/conf.d/welcome.conf
Start and enable httpd service
sudo systemctl enable –now httpd - Step 5: Install PHP and required extensions
FreePBX is dependent on PHP, we shall install PHP 7.4 on the system. Start by enabling Remi RPM repository.
### CentOS 7 ###
sudo yum -y install epel-release yum-utils
sudo yum -y install http://rpms.remirepo.net/enterprise/remi-release-7.rpm
### RHEL 7 ###
sudo yum -y install https://dl.fedoraproject.org/pub/epel/epel-release-latest-7.noarch.rpm
sudo subscription-manager repos –enable=rhel-7-server-rpms \
–enable=rhel-7-server-extras-rpms \
–enable=rhel-7-server-optional-rpms
Enable PHP 7.4 repo:
sudo yum-config-manager –disable remi-php54
sudo yum-config-manager –enable remi-php74
run the following commands to install php and required extensions.
sudo yum -y install wget php php-pear php-cgi php-common php-curl php-mbstring php-gd php-mysql php-gettext php-bcmath php-zip php-xml php-imap php-json php-process php-snmp
Change php maximum file upload size:
sudo sed -i ‘s/\(^upload_max_filesize = \).*/\120M/’ /etc/php.ini
sudo sed -i ‘s/\(^memory_limit = \).*/\1256M/’ /etc/php.ini - Step 6: Install FreePBX 16 on CentOS 7 / RHEL 7
Download the latest version of FreePBX using wget or curl command.
sudo yum -y install wget
wget http://mirror.freepbx.org/modules/packages/freepbx/7.4/freepbx-16.0-latest.tgz
Extract the file:
tar xfz freepbx-16.0-latest.tgz
rm -f freepbx-16.0-latest.tgz
Install FreePBX on CentOS 7 / RHEL 7
cd freepbx
sudo systemctl disable –now asterisk
sudo ./start_asterisk start
sudo ./install -n
If you have a root password for database server, use:
./install -n –dbuser root –dbpass dbpassword
Replace password with the root database password.
Sample installation output:
Done. All modules installed.
Updating Hooks…Done
Done installing modules
Taking too long? Customize the chown command, See http://wiki.freepbx.org/display/FOP/FreePBX+Chown+Conf
Setting Permissions…
Setting base permissions…Done
Setting specific permissions…
32451 [============================]
Finished setting permissions
Generating default configurations…
Finished generating default configurations
You have successfully installed FreePBX
Install all Freepbx modules usingfwconsolecommand:
sudo fwconsole ma disablerepo commercial
sudo fwconsole ma installall
sudo fwconsole ma delete firewall
sudo fwconsole reload
sudo fwconsole restart
Restart httpd service
sudo systemctl restart httpd
If you have an active firewalld firewall service, open http & https ports
sudo firewall-cmd –add-service={http,https} –permanent
sudo firewall-cmd –reload
You have successfully installed FreePBX on CentOS 7 / RHEL 7.
Create a systemd unit for auto-starting the service:
sudo tee /etc/systemd/system/freepbx.service<<EOF
[Unit]
Description=FreePBX VoIP Server
After=mariadb.service
[Service]
Type=oneshot
RemainAfterExit=yes
ExecStart=/usr/sbin/fwconsole start -q
ExecStop=/usr/sbin/fwconsole stop -q
[Install] WantedBy=multi-user.target
EOF
Enable the service to autostart
sudo systemctl daemon-reload
sudo systemctl enable freepbx - Step 7: Access FreePBX Web Interface
Open your web browser and connect to the IP address or hostname of your new FreePBX server.
1.Create the first admin account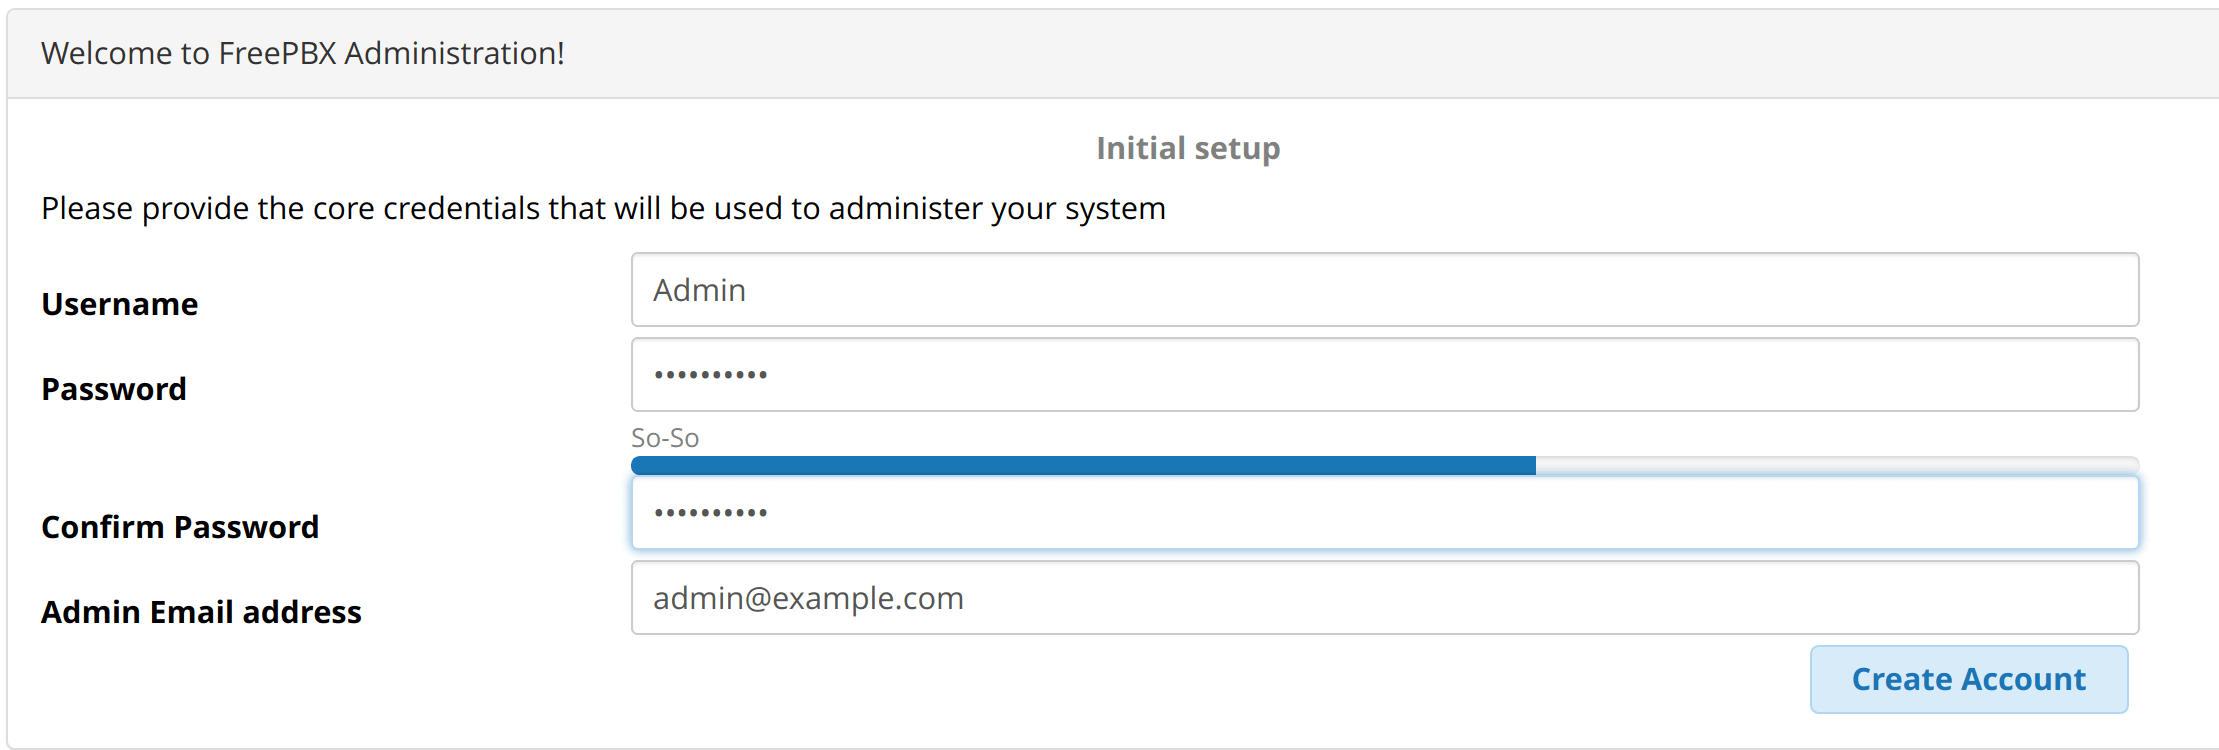
You’ll get to FreePBX dashboard where you can manage your Asterisk PBX.
If You feel you need any help or you are not able to install FreePBX, properly, You can always reach back to us at [email protected]