

Installing Asterisk 16 Long-Term-Support on CentOS 7 / RHEL 7 / Fedora systems is a relatively straightforward process once the needed software and components are acquired. This article will guide you through the process of getting up and running with Asterisk 16.
How to Install Asterisk 16 LTS on CentOS 7. Welcome to our guide on how to Install Asterisk 16 LTS on CentOS 7 / RHEL 7 / Fedora. Asterisk is a powerful Open Source PBX system with Enterprise features only available in commercially available PBX systems. Asterisk uses commodity Ethernet hardware and allows for the integration of physically separate installations.
Features of Asterisk PBX system
- Conference calling
- Call Recording
- Call Monitoring
- Distributed Universal Number Discovery
- Caller ID on Call Waiting
- Direct Inward System Access
- Call Parking
- SMS Messaging
- Trunking
- Transcoding
- Voicemail
- Call Queues and many other features.
In our recent guide, we covered the Installation of Asterisk with FreePBX on Debian server. If you need a commercial system there is 3CX which has a guide for the installation on our blog.
Install Asterisk 16 on CentOS 7 / RHEL 7 / Fedora
Before you start executing Asterisk install commands on your CentOS 7 / Fedora server, make sure all the package son the system are up to date.
sudo yum -y update
Set hostname type:
sudo hostnamectl set-hostname pbx.example.com
When done, add the epel repository – CentOS only
sudo yum -y install epel-release
Set SELinux in Permissive Mode by running the commands below:
sudo setenforce 0
sudo sed -i ‘s/(^SELINUX=).*/SELINUX=permissive/’ /etc/selinux/config
Then follow the steps below to install and configure Asterisk on your CentOS 7 / RHEL 7 / Fedora server.
Time needed: 15 minutes
Install Asterisk 16 on CentOS 7 / RHEL 7 / Fedora
- Step 1: Install Asterisk 16 PBX dependencies
The initial step when setting up Asterisk is to install all required dependencies.
sudo yum -y install wget vim net-tools openssl-devel
You also need to install Development Tools group packages.
sudo yum -y groupinstall u0022Development Toolsu0022
The other packages that you need to install are:
sudo yum -y install libedit-devel sqlite-devel psmisc ncurses-devel libtermcap-devel sox newt-devel libxml2-devel libtiff-devel audiofile-devel gtk2-devel uuid-devel libtool libuuid-devel subversion git subversion kernel-devel crontabs cronie cronie-anacron wget vim autoconf - Step 2: Download and Install Jansson
Jansson is a C library for encoding, decoding and manipulating JSON data. Download and install it on CentOS 7 server by running the commands below:
sudo su –
cd /usr/src/
git clone https://github.com/akheron/jansson.git
cd jansson
autoreconf -i
./configure u002du002dprefix=/usr/
make u0026u0026 make install - Step 3: Download and Install Asterisk
Now that we have all dependency packages installed, we should be ready to download and install Asterisk on CentOS 7 / RHEL 7.
cd /usr/src/
wget http://downloads.asterisk.org/pub/telephony/asterisk/asterisk-16-current.tar.gz
tar xvfz asterisk-16-current.tar.gz
rm -f asterisk-16-current.tar.gz
cd asterisk-16*/
./configure u002du002dlibdir=/usr/lib64
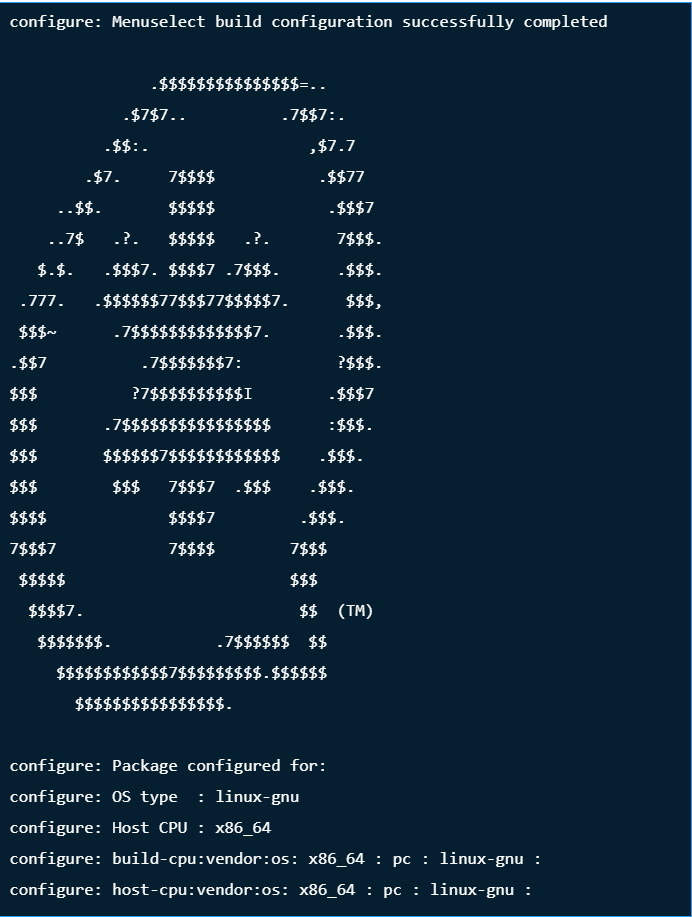
If all goes well, you should get output similar to below:
- Step 5: Set Asterisk menu options
Setup menu options by running the following command:
make menuselect
Use arrow keys to navigate, and Enter key to select.
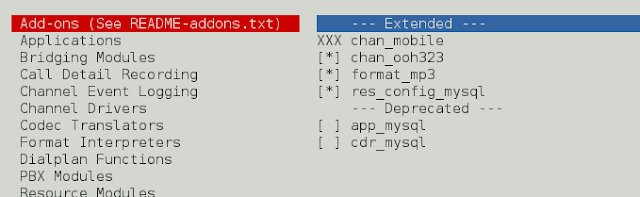
On Add-ons selectchan_ooh323andformat_mp3as shown below
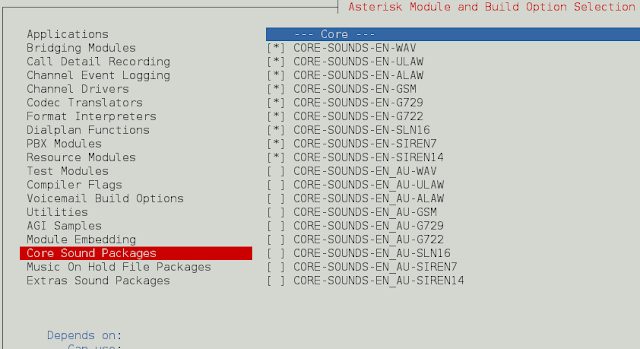
On Core Sound Packages, select the formats of Audio packets like below
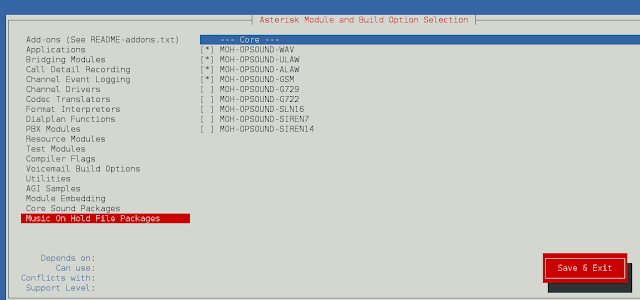
For Music On Hold, select the following minimal modules
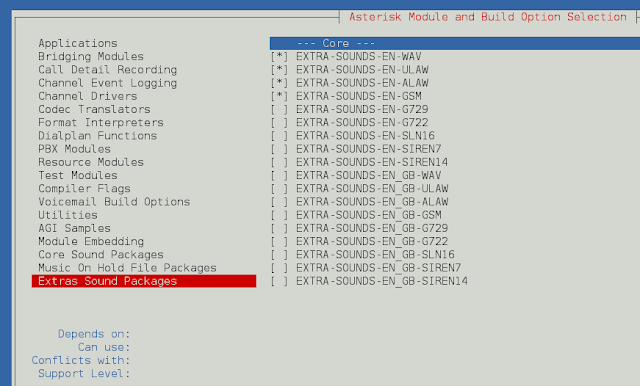
On Extra Sound Packages select as shown below:
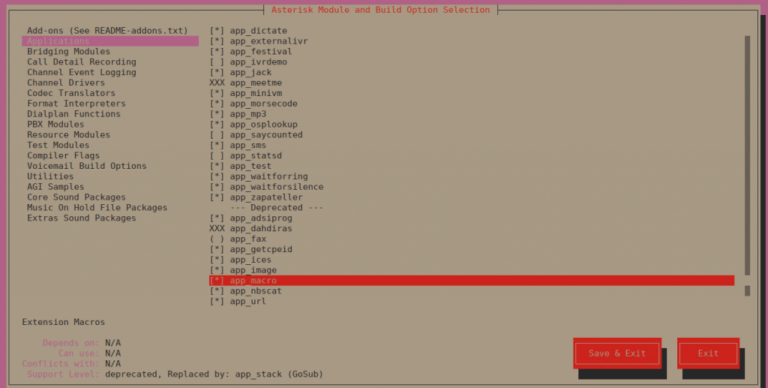
Enableapp_macrounder Applications section.
You can change other configurations you see fit. When done, save and exit
Now run the following command to download the mp3 decoder library into the source tree.
sudo contrib/scripts/get_mp3_source.sh
Install other dependencies:
sudo ./contrib/scripts/install_prereq install
To start building and installation of Asterisk with selected modules, run the commands.
make
make install
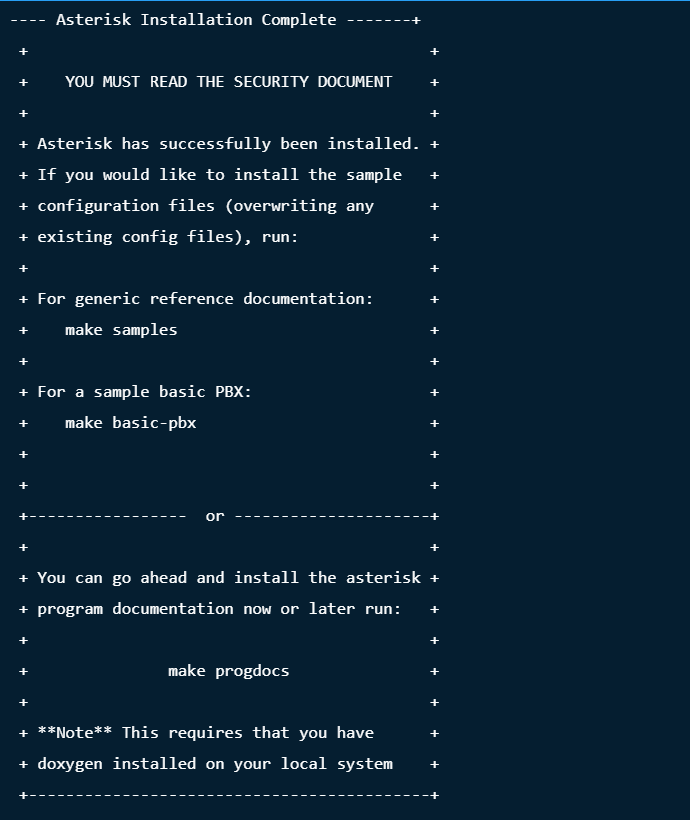
make samples
make config
ldconfig
Sample output:
A systemd asterisk unit file will be created for you.
Create a separate user and group to run asterisk services, and assign correct permissions:
groupadd asterisk
useradd -r -d /var/lib/asterisk -g asterisk asterisk
usermod -aG audio,dialout asterisk
chown -R asterisk.asterisk /etc/asterisk
chown -R asterisk.asterisk /var/{lib,log,spool}/asterisk
chown -R asterisk.asterisk /usr/lib64/asterisk
Set Asterisk default user to asterisk:
$ sudo vim /etc/sysconfig/asterisk
AST_USER=”asterisk”
AST_GROUP=”asterisk”
$ sudo vim /etc/asterisk/asterisk.conf
runuser = asterisk ; The user to run as.
rungroup = asterisk ; The group to run as.
Restart asterisk service after making the changes
sudo systemctl restart asterisk
Enable service to start on boot:
sudo systemctl enable asterisk
Test to see if you can connect to Asterisk CLI:
# asterisk -rvv
Asterisk 16.25.1, Copyright (C) 1999 – 2021, Sangoma Technologies Corporation and others.
Created by Mark Spencer <[email protected]>
Asterisk comes with ABSOLUTELY NO WARRANTY; type ‘core show warranty’ for details.
This is free software, with components licensed under the GNU General Public
License version 2 and other licenses; you are welcome to redistribute it under certain conditions. Type ‘core show license’ for details. =========================================================================
Running as user ‘asterisk’
Running under group ‘asterisk’
Connected to Asterisk 16.25.1 currently running on centos (pid = 17452)
centos*CLI> exit
Asterisk cleanly ending (0).
Executing last minute cleanups
You can confirm that Asterisk service is running as user asterisk. This is a recommended setting for Production.
Conclusion
You now have a running Asterisk 16 on CentOS 7 / RHEL 7 server. In our next how-to guide, we will cover the installation and Configuration of FreePBX on CentOS 7. Stay tuned and drop a comment if you encounter any issue with the setup.