In today’s highly competitive digital world, ranking high on Google isn’t just about creating great content. It’s also about making sure your site is technically sound, visible, and correctly interpreted by search engines. That’s where Google Search Console’s URL Inspection Tool comes into play.
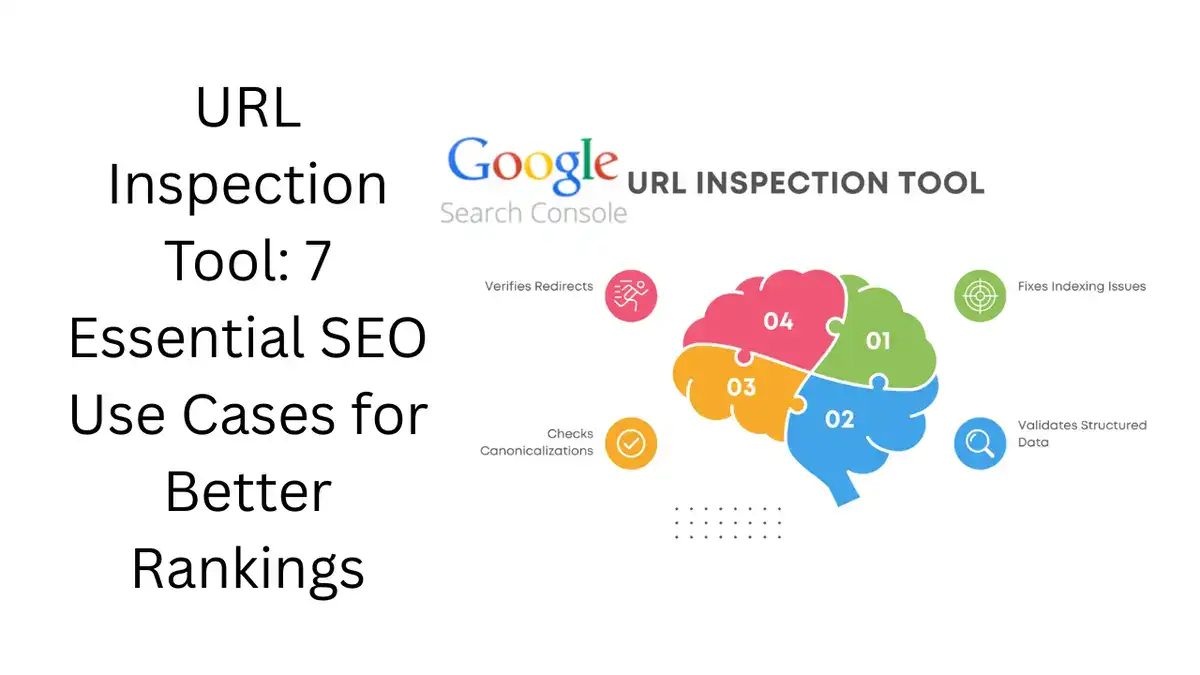
This powerful feature gives website owners, marketers, and SEO professionals a detailed look at how Google views individual pages. From indexing status to crawl errors, canonical conflicts to structured data validation, the URL Inspection Tool provides clarity in areas that can otherwise feel frustratingly opaque.
In this guide, you’ll discover seven practical use cases to unlock the full power of this tool and elevate your SEO strategy. Whether you manage a small business site or oversee a complex e-commerce platform, these insights will help you diagnose, fix, and improve your organic performance.
Understanding What the URL Inspection Tool Does
Before diving into use cases, it’s helpful to understand what this tool is designed to accomplish. The URL Inspection Tool allows you to:
- Check if a page is indexed on Google.
- See the last crawl date.
- Understand any indexing or crawling errors.
- Review canonical settings.
- Test live versions of your pages.
- Examine structured data.
- Inspect HTTP response headers.
This detailed information reveals what Google’s crawlers see when they visit your URL—far more than any surface-level SEO tool can tell you.
1. Verify Whether a URL Is Indexed
One of the most common (and stressful) SEO questions is, “Why isn’t my page showing up on Google?”
The URL Inspection Tool answers this definitively. When you enter your URL and hit “Inspect,” you’ll see whether Google knows about the page and has included it in its index.
Key Notes:
- If the URL is not indexed, the tool provides the exact reason—such as a
noindexdirective, a crawl anomaly, a redirect, or a blocked resource. - You can also view the discovery path to see how Google first found the page.
Checking indexing status should be the first troubleshooting step any time you publish new content or notice that traffic has dropped.
2. Request Indexing for Important Changes
After making critical updates—like adding fresh content, improving meta descriptions, or fixing technical errors—you don’t have to sit around waiting for Google to recrawl. The URL Inspection Tool includes a “Request Indexing” feature that signals Google to prioritize your page.
Best Practices:
- Use this feature judiciously. Google limits how many URLs you can submit daily.
- Request indexing only after significant changes or when you launch new content that’s critical to your business.
- Even with a request, indexing isn’t guaranteed. The page must still meet Google’s quality and relevance standards.
Requesting indexing ensures that your most important updates get noticed sooner rather than later.
3. Understand Exactly How Google Sees Your Page
If you rely on JavaScript frameworks or complex templates, you can’t assume Google is seeing the same content your visitors see. That’s why the “View Crawled Page” and “Test Live URL” features are invaluable.
When you test your page, you get:
- A screenshot of the rendered page as Googlebot sees it.
- A list of loaded and blocked resources.
- Any JavaScript console errors.
Why This Matters:
If your main content is loaded dynamically, but Google can’t access the required resources, your rankings will suffer. You might think your page is optimized, but Googlebot may only see a blank page or incomplete content.
Regularly testing how Google renders your site is crucial to catch these issues early.
4. Spot and Fix Canonical Tag Issues
Canonical tags help Google understand which version of a page you want to rank when multiple URLs have similar or duplicate content. However, Google sometimes overrides your declared canonical URL with its own choice.
The URL Inspection Tool displays both:
- The user-declared canonical, based on your HTML tag.
- The Google-selected canonical, which reflects what Google ultimately indexes.
When to Use This:
- You notice duplicate content appearing in search results.
- Your preferred URL isn’t ranking.
- You’ve consolidated old URLs but traffic still splits between versions.
By comparing declared and selected canonicals, you can identify discrepancies and take action—such as improving internal linking, updating sitemaps, or adjusting canonical tags.
5. Debug Rendering and Technical Errors
Technical issues are a leading cause of indexing problems, but they often go unnoticed. The URL Inspection Tool’s live testing helps you pinpoint:
- 404 or 500 server errors.
- Robots.txt blocking.
- Blocked scripts or stylesheets.
- Excessive redirects.
Example Scenario:
Imagine you moved your site to a new CMS. You think everything is working, but when you inspect your URLs, you discover they’re returning 404 errors to Googlebot. Without the URL Inspection Tool, you could lose weeks of traffic before realizing the problem.
This feature lets you diagnose such problems immediately, saving time and protecting your search visibility.
6. Validate Structured Data and Rich Results
Rich results—like review stars, FAQs, and breadcrumbs—help your listings stand out in search. But structured data must be implemented perfectly to be eligible.
The URL Inspection Tool displays:
- All detected schema types.
- Errors or warnings for each schema property.
- Enhancements that may appear in search.
Why Use This:
- Even a minor error in structured data can cause your rich snippets to disappear.
- Not all schema types are eligible for rich results; the tool clarifies which ones Google recognizes.
For best results, combine this feature with the Schema Markup Validator and Rich Results Test to cover all bases.
7. Examine HTTP Response Headers
Sometimes, problems aren’t in your code or content but in your server configuration. The URL Inspection Tool reveals:
- The HTTP status code (200, 301, 404, etc.).
- Cache settings.
- X-Robots-Tag headers.
- Content type.
Common Issues You Can Detect:
- A
noindexheader that overrides your HTML meta tags. - A 403 Forbidden error to Googlebot while the page appears fine in browsers.
- Misconfigured caching headers that prevent Google from seeing updated content.
These insights are invaluable when diagnosing stubborn indexing issues.
Bonus Tip: Use the Tool Strategically and Consistently
While the URL Inspection Tool is incredibly powerful, it works best as part of a broader SEO workflow:
- After publishing important content, always check indexing status and request indexing.
- When troubleshooting ranking drops, inspect the affected URLs for crawl errors or canonical issues.
- During site migrations, inspect multiple sample URLs to verify redirects, canonicals, and structured data.
- After significant template changes, use the live test to validate rendering.
This proactive approach ensures you catch problems early, before they impact your bottom line.
How the URL Inspection Tool Fits into Your SEO Toolbox
The URL Inspection Tool should be used alongside other Search Console features like:
- Coverage Reports (to monitor overall indexing health).
- Sitemaps (to see which URLs Google is crawling and indexing).
- Enhancements Reports (for sitewide structured data errors).
Combined, these tools offer a complete picture of your website’s performance and technical health in Google Search.
Conclusion: Make the Most of Every URL
Google’s URL Inspection Tool is more than a simple checker—it’s a direct window into how Google crawls, indexes, and evaluates your content. By using it regularly, you can:
- Ensure critical pages are indexed.
- Detect rendering or crawl issues.
- Validate canonical and structured data.
- Fix problems before they impact rankings.
Think of it as your first line of defense in technical SEO—a way to stay informed, proactive, and confident that your site is search-engine friendly.
Whether you’re managing an e-commerce platform, a content-rich blog, or a service website, mastering the URL Inspection Tool will give you a competitive edge. Take the time to explore its features, use it consistently, and watch your search visibility improve.
Key Notes Recap:
- Always check indexing after publishing or updating pages.
- Use live testing to spot rendering and resource issues.
- Compare canonical tags to avoid duplication.
- Validate schema to unlock rich results.
- Inspect headers for hidden server errors.
- Combine with other Search Console reports for a holistic view.
When you put these practices into action, you’ll transform your SEO workflow—and make sure your site earns the visibility it deserves.