Install VMware vSphere ESXi 8.0 on Bare-Metal Servers. VMware vSphere ESXi 8.0 is a powerful server virtualization platform designed to maximize IT efficiency, agility and scalability, while also lowering operational costs. The latest version of the platform offers users a range of features, including increased scalability, new storage capabilities and improved security. In this article, we will provide step-by-step instructions on how to install VMware vSphere ESXi 8.0 on bare-metal servers.
Before installing the software, be sure to download the latest version of VMware vSphere ESXi 8.0 from the official website.
In this article we shall cover a step-by-step installation of vSphere ESXi 8.0 on bare-metal server(s). We’re doing the installation on Intel NUC 10 hardware. This installation can be replicated for any other type of server hardware. Subsequent to this article will be a guide on the installation of vSphere vCenter Server 8 Appliance. ESXi is a hypervisor installed on the physical machine while vCenter Server is a management platform for your ESXi hypervisor hosts and Virtual Machines. With vCenter Server you can manage the resources of multiple hosts as a single pool.
The next step is to run the ESXi installer from the boot device. Depending on your server’s BIOS configuration, you may have to adjust a few settings before the installer can run. Make sure that your server supports virtualization, and enable any virtualization features in the BIOS.
Once the installer has booted up, you can begin the installation in earnest. You’ll be asked to accept the terms of the license agreement, as well as agree to the hostname and root password that you wish to use. After that is complete, the installer will automatically begin installing the ESXi software to the server’s hard drive. This may take several minutes, but once it’s complete, you will be able to access the ESXi server with your designated username and password.
By following these steps, you can easily install VMware vSphere ESXi 8.0 on your bare-metal servers. The new version of the virtualization platform offers you a range of new features, including improved scalability, storage capabilities and security. With this powerful server virtualization platform, you can maximize your server’s efficiency and agility, while also reducing operational costs.
What’s new in vSphere 8?
- Data processing unit (DPU) support for vSphere Lifecycle Manager (vLCM) and expanded recovery options with vSphere+.
- Cloud Services Console and Cloud Consumption Interface
- Support for DPU through VMware Distributed Services Engine
- Tanzu Kubernetes Grid 2.0
- Add-on cloud services integrations
vSphere ESXi 8 Hardware requirements
- A host with at least two CPU cores.
- Support for hardware virtualization (Intel VT-x or AMD RVI) must be enabled on x64 CPUs if you plan on running 64-bit virtual machines.
- The NX/XD bit should be enabled for the CPU in the BIOS.
- A minimum of 4 GB of physical RAM. Provide at least 8 GB of RAM to run virtual machines in typical production environments.
- One or more Gigabit or faster Ethernet controllers
- SCSI disk or a local, non-network, RAID LUN with unpartitioned space for the virtual machines.
- Boot disk of at least 8 GB for USB or SD devices, and 32 GB for other device types such as HDD, SSD, or NVMe. A boot device must not be shared between ESXi hosts.
- For Serial ATA (SATA), a disk connected through supported SAS controllers or supported on-board SATA controllers. SATA disks are considered remote, not local.
Install VMware vSphere ESXi 8.0 on dedicated server
In this section we will capture the process of installing of ESXi 8.0 on a physical server hardware. This can be a Dell, HP, Lenovo, Cisco or any other vendor hardware. An automated installation can be performed using with PXE, VMware Auto Deploy or manual installation with Bootable USB/CD or IPMI. We will stick with manual installation for simplicity reasons. Note that vSphere 8 supports booting ESXi hosts from the Unified Extensible Firmware Interface (UEFI).
Step 1: Create Bootable USB Stick
Download link for the ESXi installer is https://my.vmware.com/web/vmware/downloads. Click on the ESXi listed under data center & Cloud Infrastructure.
Once the ISO file is downloaded, use your OS available tool which supports creation of VMware bootable device to create an installation medium. Check out our Linux article:
For installation through IPMI, attach the ISO to Virtual CD ROM before you can perform the installation.
Step 2: Begin ESXI 8.0 installation on bare-metal server
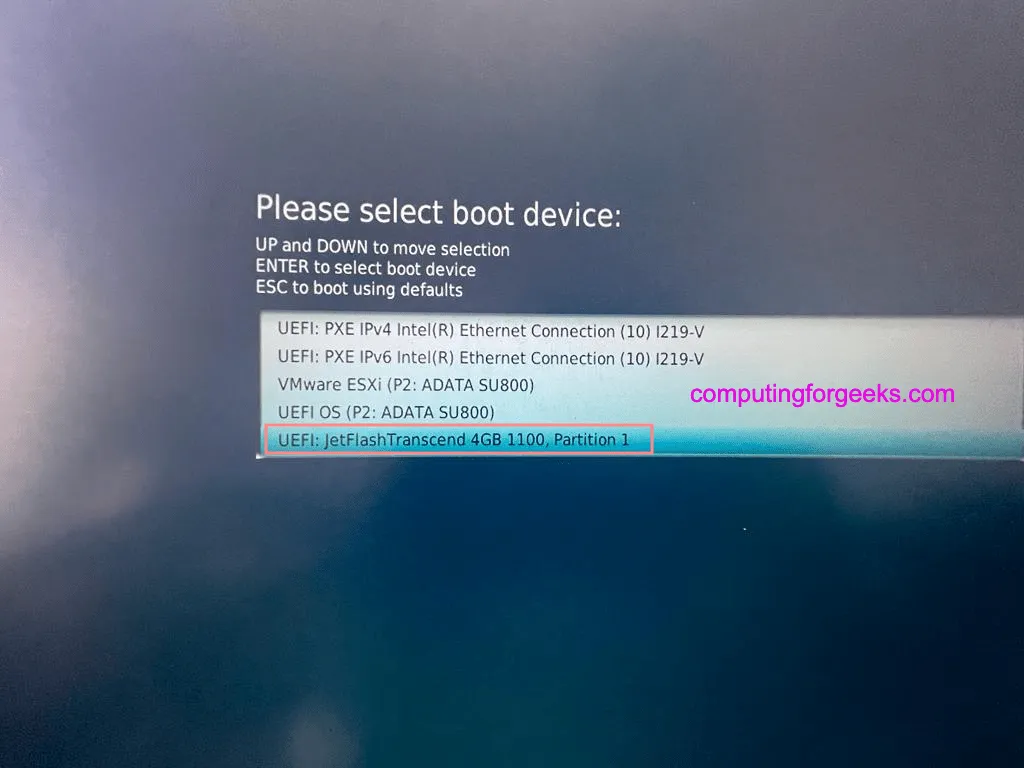
Insert prepared USB stick or boot from ISO file if using IPMI and hit <ENTER> to begin installation of ESXI 8 on a bare-metal server.
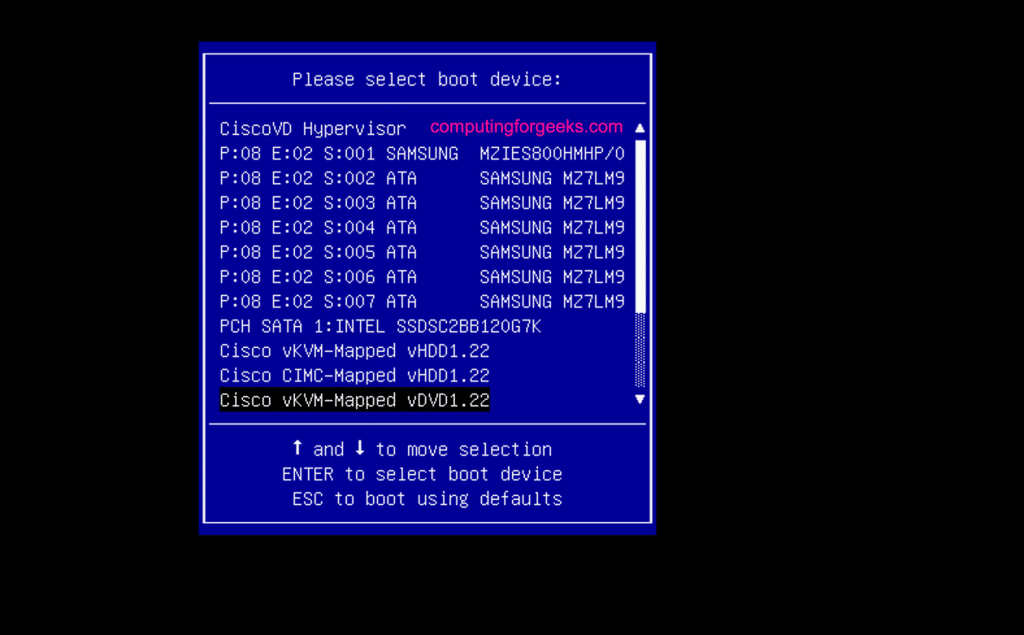
When using IPMI:
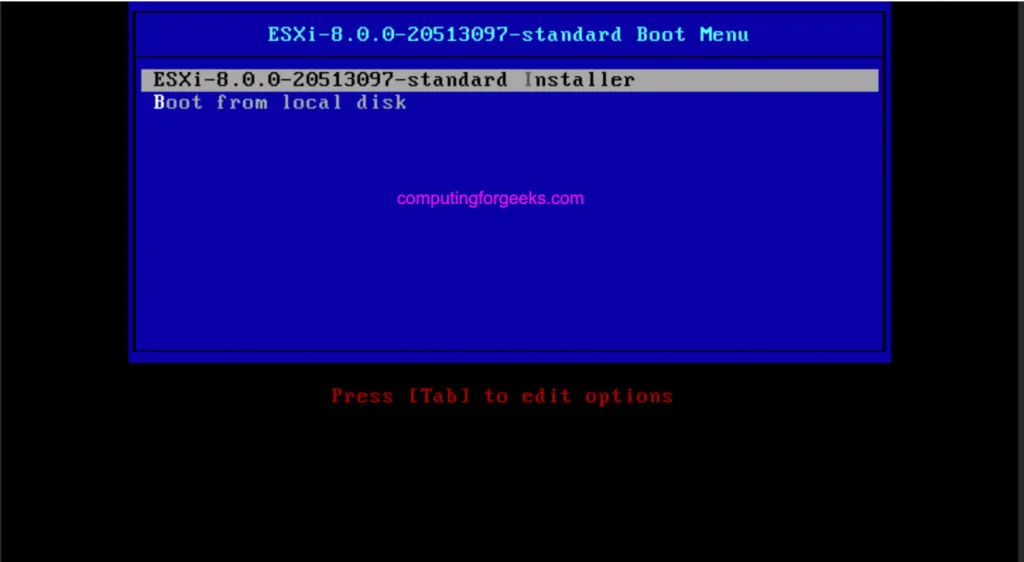
Choose the first option to install ESXi 8 on your local server.
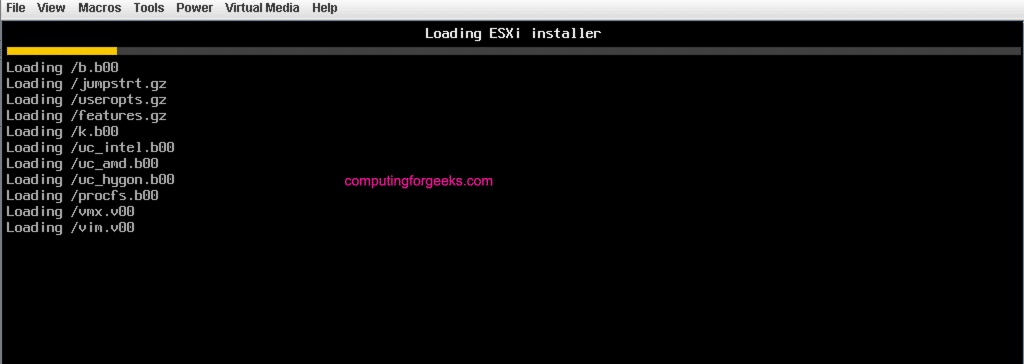
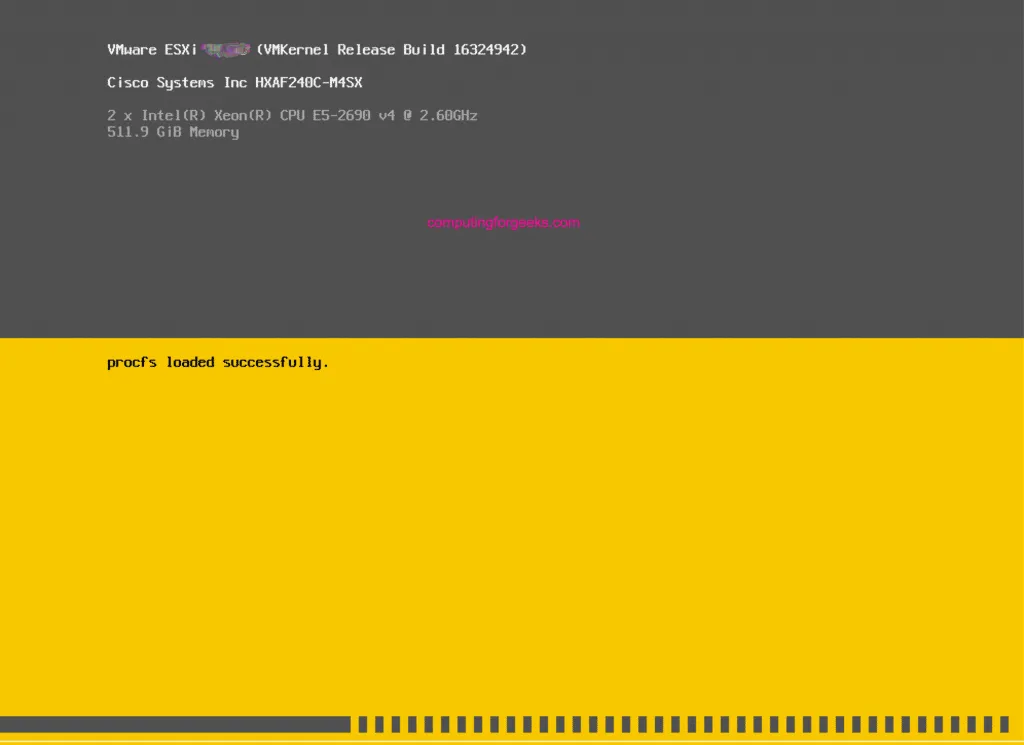
You should notice the loading of ESXi installer. Wait for few seconds then all will be set.
Some system information such as Memory and CPU will be shown.
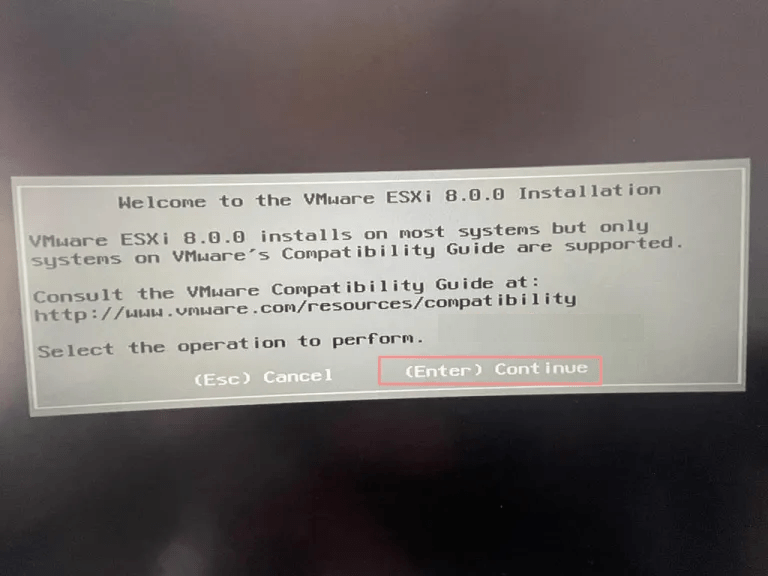
Hit the “Enter” key to continue with the installation of ESXi 8.0
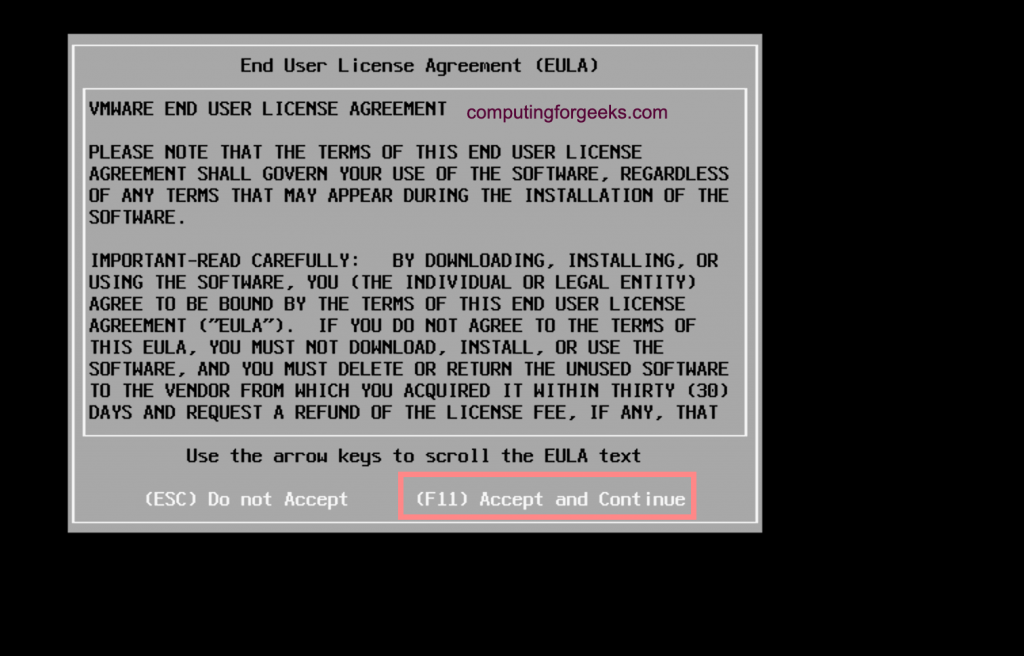
Accept VMware License Agreement if you want to install. To abort you can use ESC key.
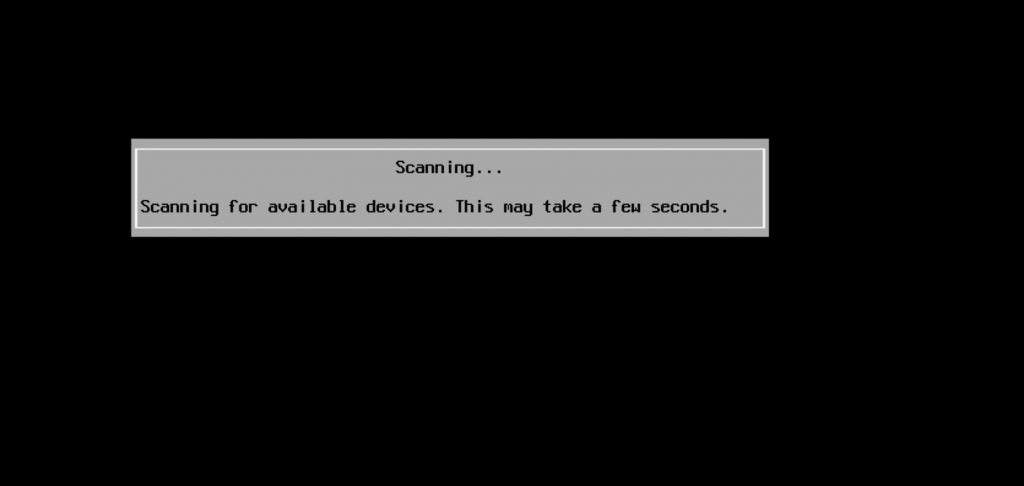
Wait for device scanning to be completed by ESXi installer.
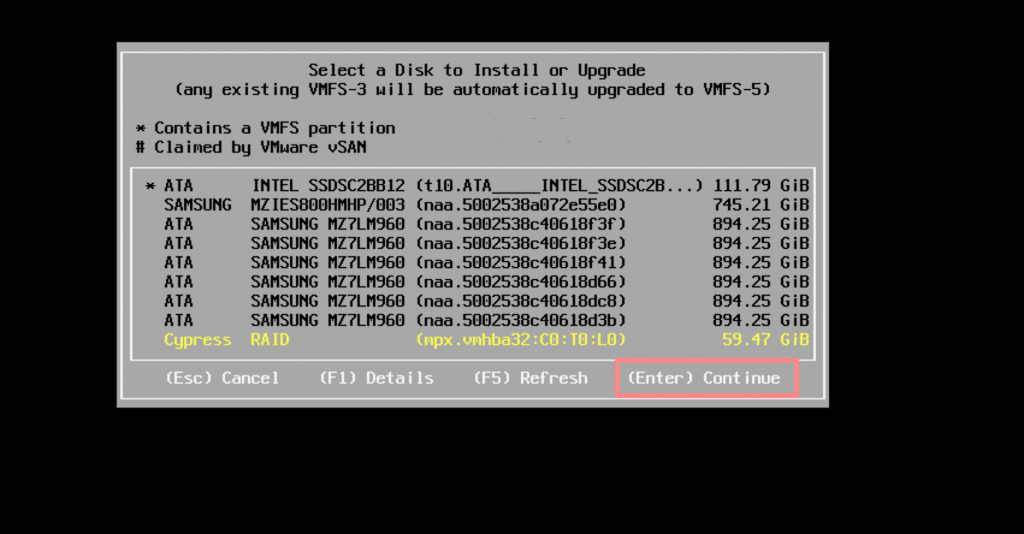
Select the disk where ESXi 8 will be installed to. It will create a datastore on the selected disk which can be used for Virtual Machines as well.
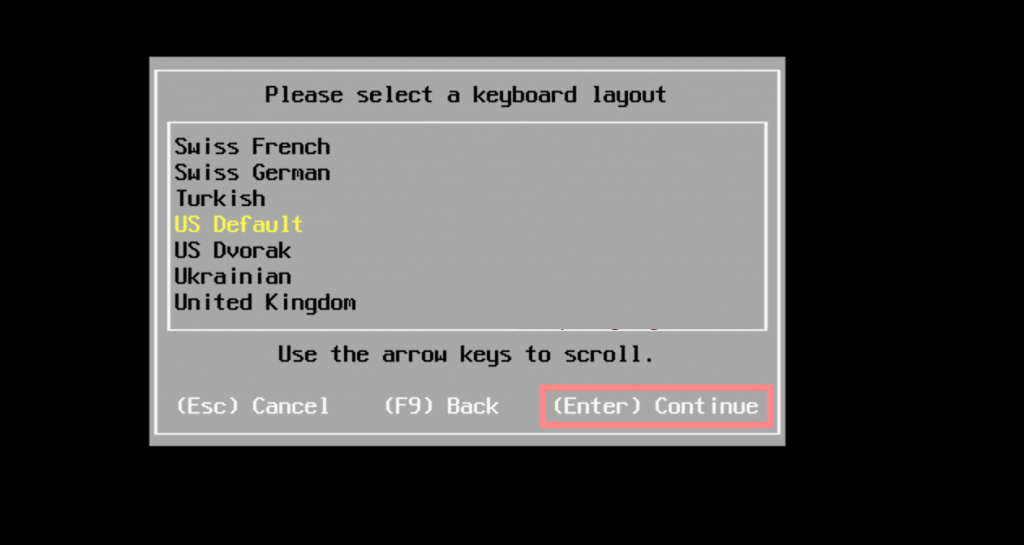
Choose the keyboard layout from the list and press “Enter” to continue with the installation.
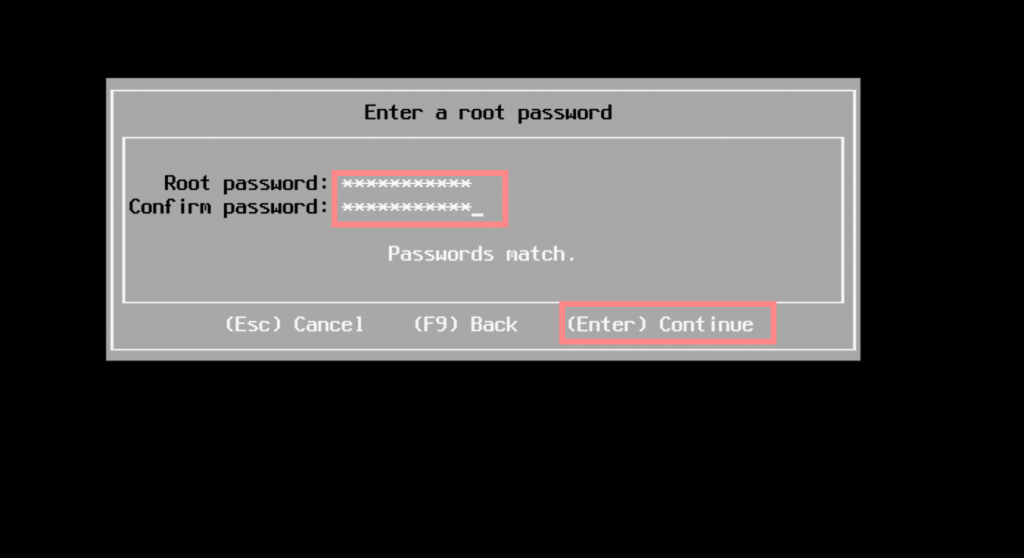
Set root password and confirm then proceed with the installation.
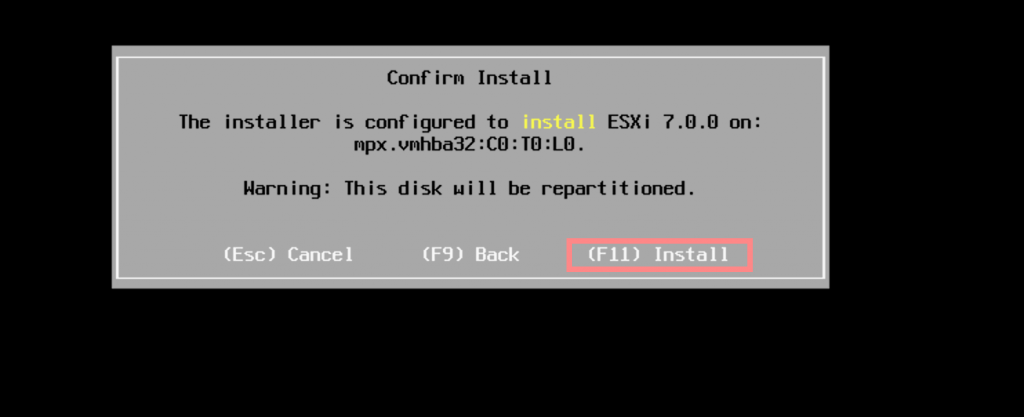
Use F11 to confirm installation of ESXi 8.0 on your bare-metal server.
Step 3: Configure vSphere ESXI 8.0 server
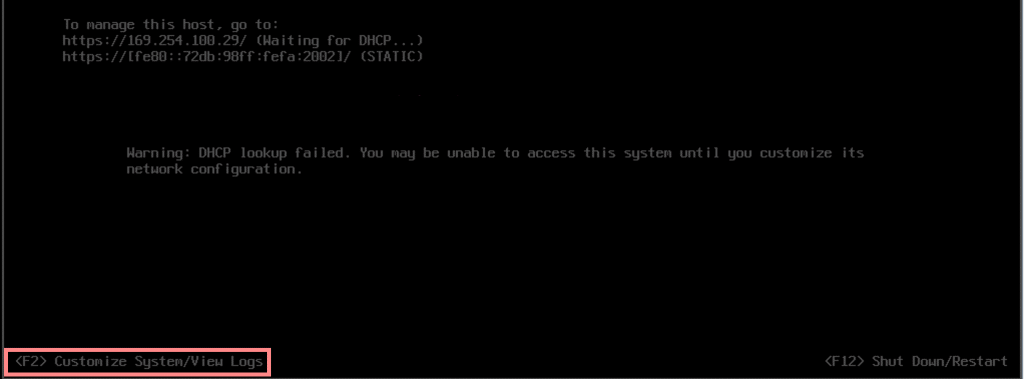
After the installation use F2 to reboot your ESXI 8 system.
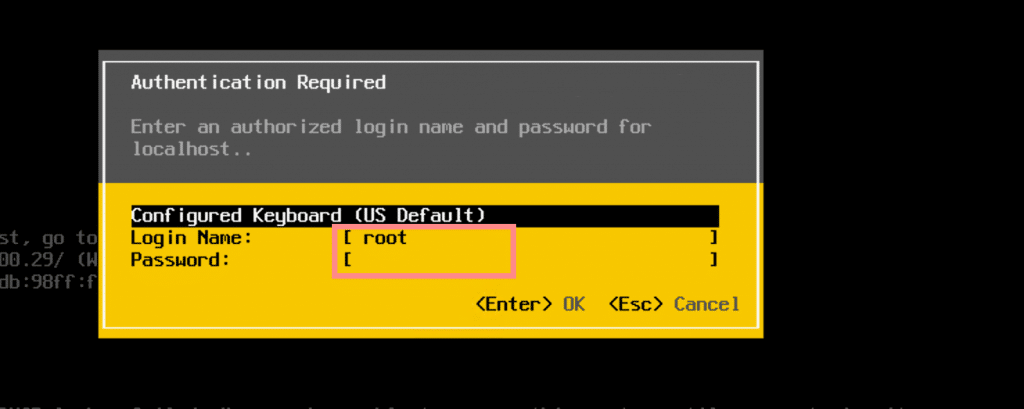
Login with the root user and the password you did set earlier.
Go to Configure Management Network section. Here we will set the ESXi host management network for accessing vSphere UI and SSH.
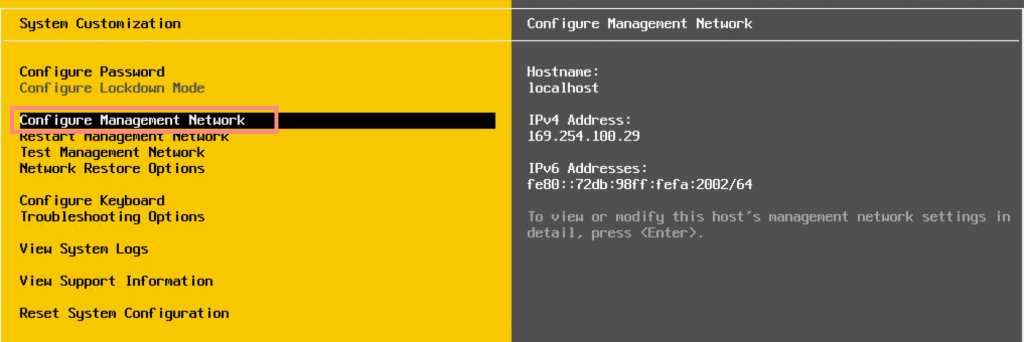
Provide IPv4 address, Subnet mask and default gateway for the Management network. This IP address will be used to manage ESXI server.

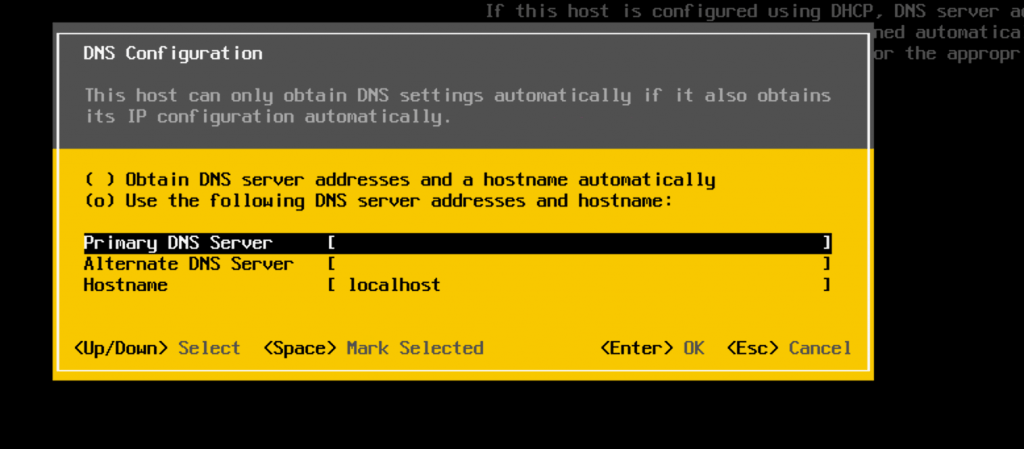
Press Enter when done and save the changes then set Primary and Alternate DNS addresses.
Open the set IP address to access ESXi UI where you can manage the host system.
In our next article we cover installation of vCenter appliance and various configurations of vSphere 8 servers. Now that you’ve installed the ESXi software, you may also want to configure your networking and storage settings before proceeding. Thankfully, the user interface for these settings is quite intuitive, allowing you to quickly get everything up and running.